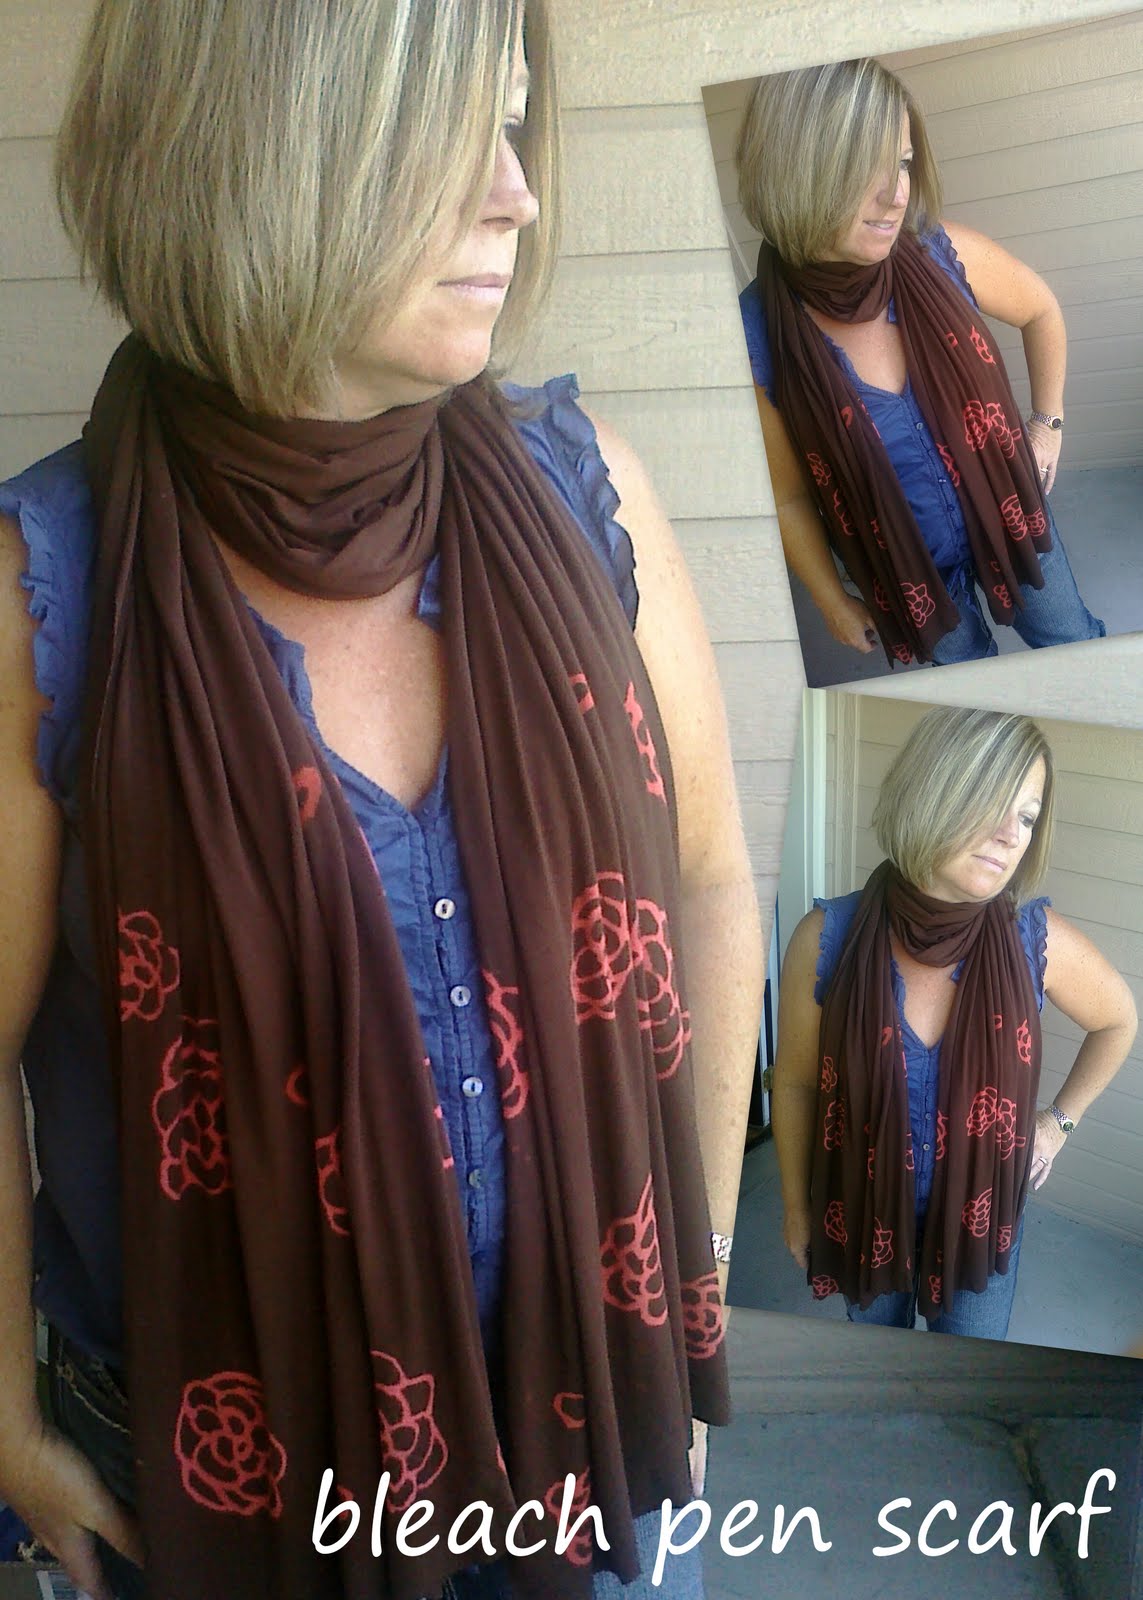
Monday, September 26, 2011

Projects to Movie By: Circle Vest

My love for quick simple projects has brought me to several cutie-pie pieces that can be whipped up while just watching 1 or 2 fabulous movies and maybe while sipping one incredible drink (my love, the Pumpkin Spice Latte). I decided to feature these cute pieces along side mini movie recommendations in a series called Projects to Movie By.

Todays Piece:
Crochet Circle Vest (just about as easy as it sounds)


Today's Movie:
click above to watch trailer
I'm positive you can find a pattern for this or something similar almost anywhere. I have a little bit of ADD when it comes to pattern reading, so I just improvised. I simply crocheted a circle large enough to reach from armpit to armpit across my "model"'s back and then continued to crochet the circle leaving two armholes in the appropriate spots. What a quick and fun project! I foresee millions of these popping up in my future!


This movie is totally charming. For me, the combination of Audrey Hepburn (who I adore), and Fred Astaire (who I can't help but "crush" on), and Paris (swoon) is a sure recipe for fabulousness and this movie does not disappoint. My favorites: the bookstore kiss (total butterflies), how they pretend to be too tired to sightsee in Paris, and the wedding dress for the photoshoot (it's the kind of dress that makes me want a wedding do-over just so I could wear something like it!).


Pretty sure this movie sells for something like $7 at Walmart, you should totally check it out sometime! My girls even loved it! Y was totally into the opening music sequence "Think Pink" and here's A's apparent enchantment with a Fred Astaire dance scene:

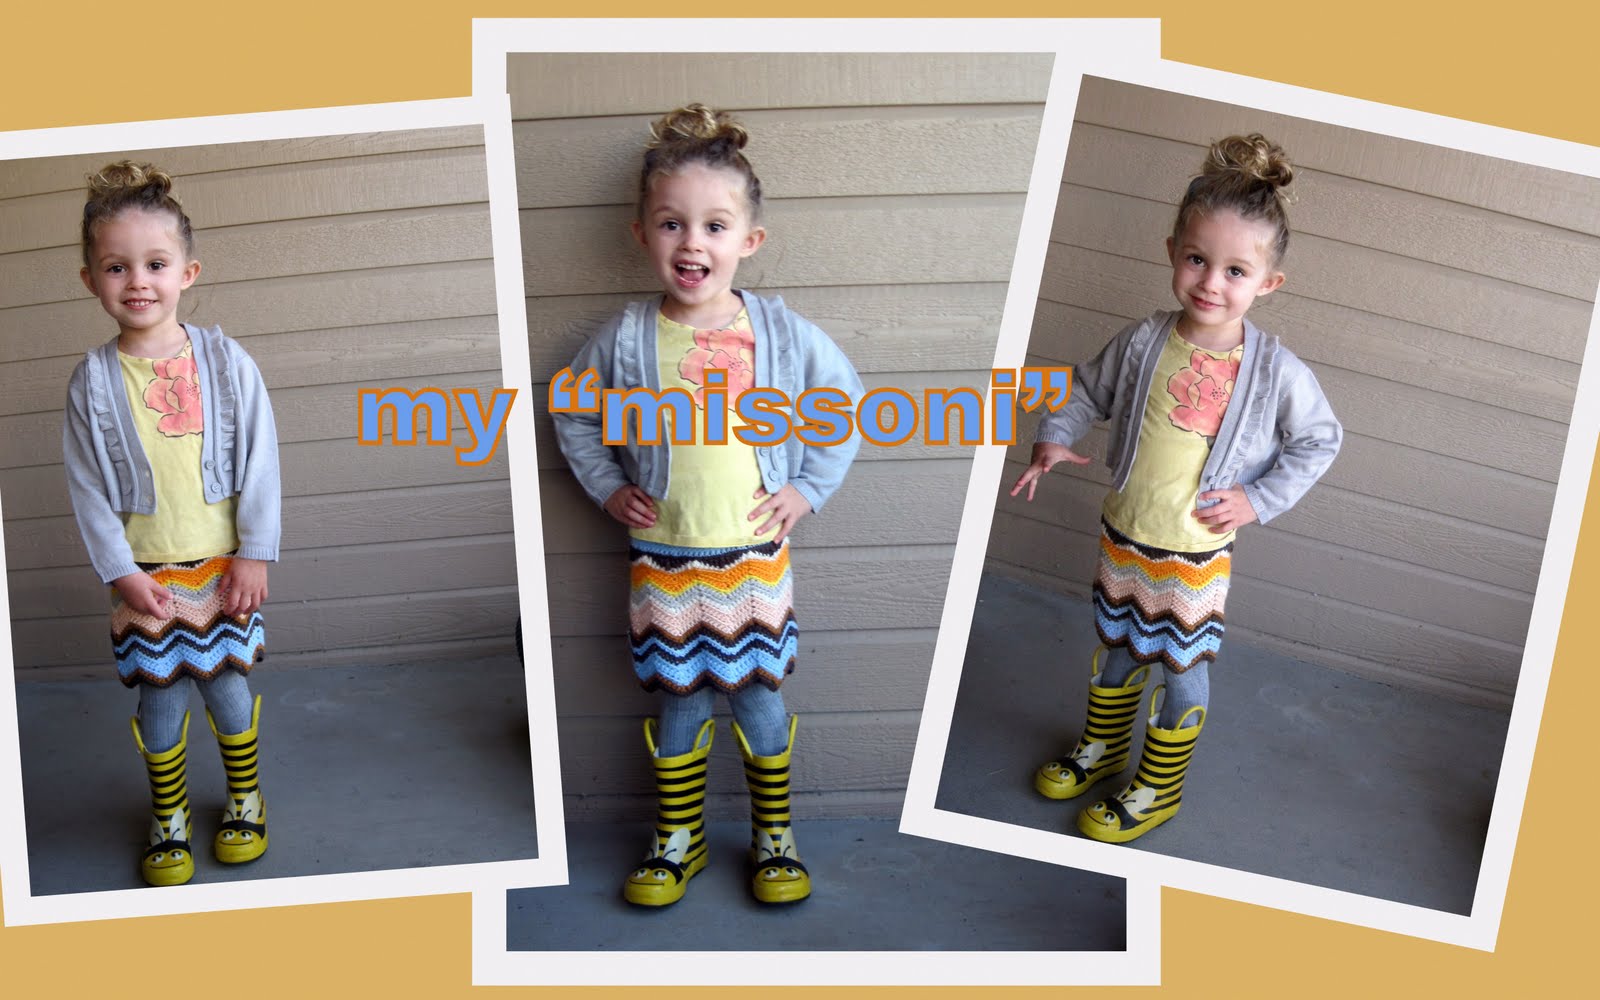
haha, she's mamma's girl!

All in all my project took about the time of the movie, give or take a little bit!


Todays Creative Blog
Somewhat Simple

Friday, September 23, 2011

hip hip

hooray! guess what?! I've been featured as a Friday Fav over at Naptime Crafters! Hop over there and check out this very fun linky party to see what all the creative peeps have been up to this week! I'm so flattered that my "missoni" inspired skirt was picked as a Fav!

Tuesday, September 20, 2011

i'm gonna miss this: well cared for dollies

Miss Laura of Housewife In Town is throwing a linky party where all the mamma's out there can share the things they're going to miss. My little Y is a super care-taker as of late. I am constantly stumbling across scenes like this:


That's "Lista" with a t, and she receives about 4-5 wardrobe changes a day (often with clothes stolen from my freshly folded laundry stacks or out of the formerly organized dresser drawers of little sister). As high maintenance as this little dolly and her caretaker can be, I can surely say I'm going to miss finding all these little makeshift beds with an adored friend just "taking a little rest."

Photobucket

my own "missoni"


coming to terms with the fact that I am neither aggressive or wealthy enough to be the proud owner of any Missoni for Target items, I rummaged through my yarn stash with the mission to make my own missoni! haha Take that, ebay selling jerks that bought it all and marked it up a million percent!

Here's the inspiration skirt from the Missoni for Target line:

And here's my crocheted version:


I'm thrilled with the results!

Y looks fabulous enough in this that I might have to make a version for myself :)


Todays Creative Blog
Tip Junkie handmade projects

Wednesday, September 14, 2011

I'll take one of everything, please and thanks

So, you've probably seen this commercial:


Fun, right! So apparently the affordable and amazingly fabulous new line of Missoni for Target took Target.com down upon unveiling, and I'm not surprised. As I browsed the all "out of stock" items, I could barely find one I didn't like :) The colors and prints remind me so much of fabulous retro finds I used to snag at thrift stores and estate sales when I was in highschool . . . only with like mega chic volume Hop over there and check it out for some fun fashion and eye candy! I'm hoping they restock soon, the little girls pieces are SOOoooo incredible!

Between the home stuff, women's clothes and accessories, and children's line, it's really hard to narrow down some favorites, but i tried :)


Can you deal with the bike? I want that! Apparently all this stuff is on ebay for pretty big markup! Please come through for us, Target and get some more stuff!!!

In other news, I need a new job to transition all my fantasy shopping into reality ;)

Tuesday, September 13, 2011

freehand floral bleach jersey scarf

Today's project is somewhat sloppy/impromptu and performed using just random stuff I happened to have on hand, but I'm kinda stoked with the results and also ANYONE can do this!

I had this abnormally long strip of jersey, because one time I made a baby wrap and thought I'd make two, but I never did and after about 4 random trips through my laundry, I was fed up with this big purposeless piece of fabric.
It's actually a super soft and slinky knit fabric, that feels really nice, and also, I love jersey scarfs If I was a super good screen printer (or if I ever have even tried screen printing) I think I would make millions of awesome jersey scarves. . . . so I decided to make a scarf!
HOWEVER, since I'm not skilled in the art of screen printing, I fumbled around for a plan B, and found my clorox bleach pen. So that's your supply list folks: long strip of knit fabric and a bleach pen
My pattern inspiration was this Oh Joy! wallpaper that I have been more-than-in-love with ever since I saw it featured on Secrets of A Stylist.


My bleach pen was not full so I had to place my flowers fewer and far between. I thought it would bleach completely white, but it turned a really coral-ish color, which incidentally looks great and pretty fall-fabulous, which is a happy accident!

Directions:
1. freehand your design with the bleach pen and don't expect perfection ( it will glob and bubble, just go with it). 2. wait, (i tried to wait an hour but probably only made it about 40 minutes)
3. rinse off bleach, this was stressful to me, I did it in my sink with the hand sprayer and got some bleach spots on other parts of the scarf, but all in all, just roll with it, this is a bleach-spotty project!
4. wash and dry in machine


Here's the result:
oh and pssttt...my model is my always-gets-confused-for-my-sister-but-is-actually-my- mom mother, she was having a way cuter day than I was, so she gets to show off the goods ;) Love you, mamma!

Todays Creative Blog


Tuesday, September 6, 2011

Double Sided Flower Dish Scrubby Pattern


Materials
100% Cotton Yarn
Nylon Netting (2" strip approx. 7 yds.)
J Hook
G Hook
Yarn Needle


For Nylon Scrubby (make first):
With larger hook and your long strip of nylon netting, ch 4 and join to make loop.
RND 1: Ch 3 (counts as first dc) and dc 11Xs around (for 12 dc). Join with slip stitch in top of ch 3.

RND 2: Ch 3 (Counts as first dc) dc in same space, 2 dc in each space between dcs of rnd 1 (24 dc). End off, no tail required.

For Flower:
Using smaller hook and cotton yarn, chain 3 and join in first chain to make foundation loop.

Rnd 1:
Ch 2 (count as first sc), sc 7 times in center of loop, join in top of ch2 (8 sc).


Rnd 2: ch 2, sc in same stitch, 2 sc in each stitch around (16 total).


Rnd 3: ch 4, *skip 1 sc, sc in next sc (I go through both back and front part of the stitch), ch 3* Repeat from * around ending with a ch 3 which you will join with a slip stitch in the 2nd ch from the first ch 4. (you should have 8 loopies for your petals).


Rnd 4: in each loop around: sc, hdc, dc, hdc, sc


Rnd 5: fold petals forward, 2 slip stitches down back to get to the base of the petals (rnd 2). sc in middle stitch (this is the one you skipped in between your ch 3s in rnd 3), and ch 3, then sc in the middle stitch of the next base, repeat around, joining your last ch 3 into the firs sc you did for this round. (You should have 8 new loopies for the back row of flower petals).

*here is how I slip down the back


*here is the view of the stitch I am going through from both the front and back of the flower:

*and here is the back side of the flower once all the loops made in this round are completed:


Rnd 6: in each petal loop around, sc, hdc, dc, tr, dc, hdc,sc (8 times). Slip stitch in the sc of the first petal. Don't cut or bind off!


NOW you are going to sc around the perimeter of your nylon scrubby circle (24 sc.) When you are done with that, tie off leaving a tail long enough to sew the two together


using yarn needle and working along the crocheted perimeter of the nylon, sew the two pieces together, end off and weave in ends.


And there you have it: cute and functional dish scrubby!

Todays Creative Blog